You can schedule Scenes to activate automatically under certain conditions. These conditions can include:
- At Time
A specific time of day, such as 3:00 pm. - Relative to Celestial Time
A time based on the rising and setting of the sun. (Dawn, Sunrise, Sunset, Dusk)
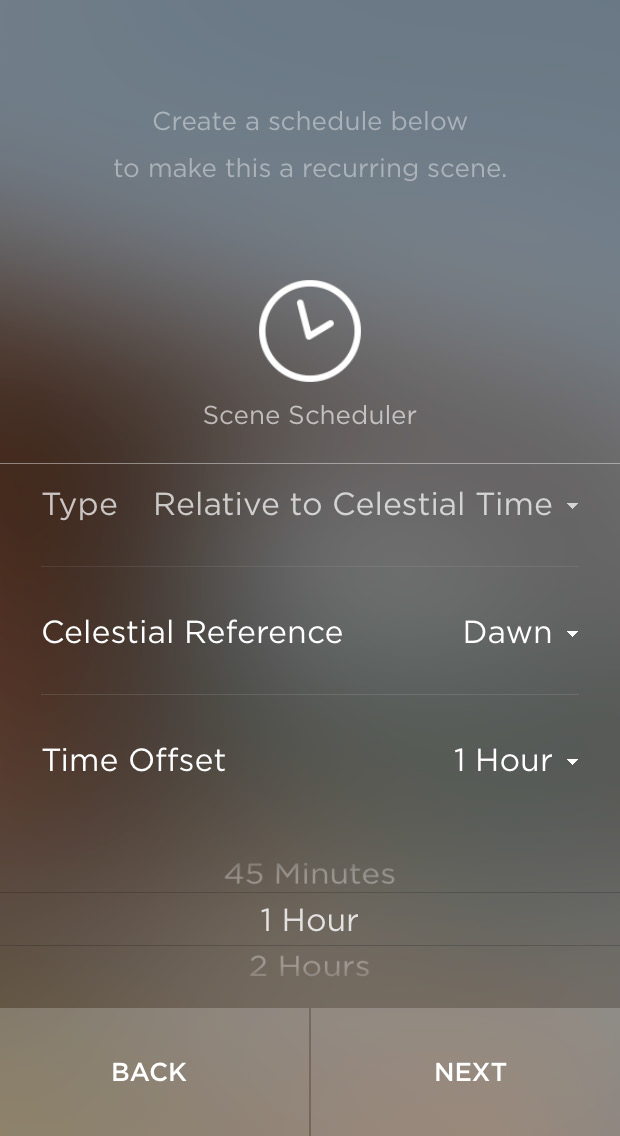
You can also specify an offset before or after any of these times. The offset can range from 5 seconds up to 5 hours. For example, you can set an offset for minus 5 seconds from Dawn, which will activate a scene five seconds before Dawn. You can also set an offset of 5 hours after Sunset, which will activate a Scene five hours after Sunset.
Your choices for offsets from Celestial Time include positive and negative numbers of the following durations:
- 5 Seconds
- 15 Seconds
- 30 Seconds
- 1 Minute
- 5 Minutes
- 10 Minutes
- 15 Minutes
- 30 Minutes (iOS only)
- 45 Minutes
- 1 Hour
- 2 Hours
- 5 Hours
The default choice is None, which does not set an offset for a Celestial Time.
The picture below shows scheduling a Scene to begin automatically one hour after Dawn.

Specifying Start Dates and End Dates
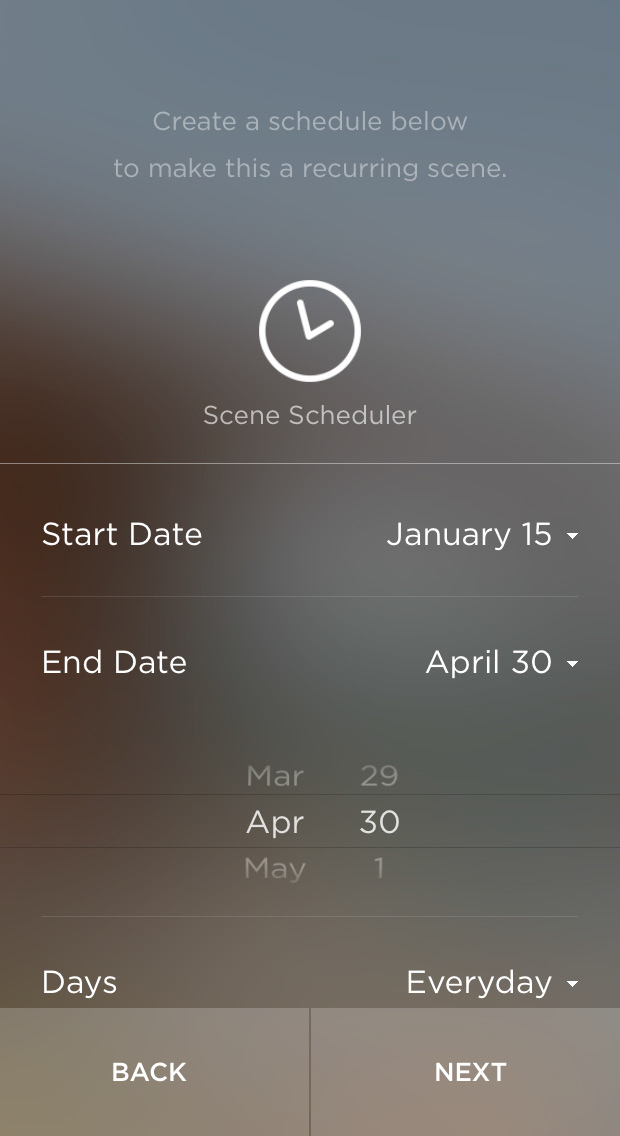
By default, scheduled Scenes take place every day all year long. You have the option of designing Scenes that only in a certain range of days. For example, you can make a scene automatically activate only from January 15 to April 30.
To specify start dates and end dates for the scene, do the following:
- On the Scene Scheduler screen, tap All Year.
Two new fields appear: Start Date and End Date. - Tap Start Date. Use the scrollable month and date fields to select the month and date on which the Scene should first be available.
- Tap End Date. Use the scrollable month and date fields to select the month and date on which the Scene should last be available.
The picture below shows an example of setting a start date and end date for a scene.

Specifying Days of the Week
You also have the option of scheduling scenes for only certain days of the week, such as Tuesday, Thursday, and Saturday.
Tap Days and select the days of the week you want to Scene to be active.

