Savant Contact Management
Contacts can be created and managed through the Savant Community by a user with admin or team permissions. This document describes how to add, edit, or remove a user contact entry via your admin or team account on the Savant Community.
| IMPORTANT NOTE: Maintaining correct contact information is critical for all Savant interactions. Incorrect contact information leads to account security concerns, longer Support calls, and an overall decrease in efficiency for Support and Integrators. |
Accessing Account Contacts
To access account contacts users must have admin or team permissions. Navigate to the Savant Community and follow either of the steps below to access the contacts.
Accessing Contacts through the Navigation Bar:
- Within the Savant Community, navigate to the Account screen.
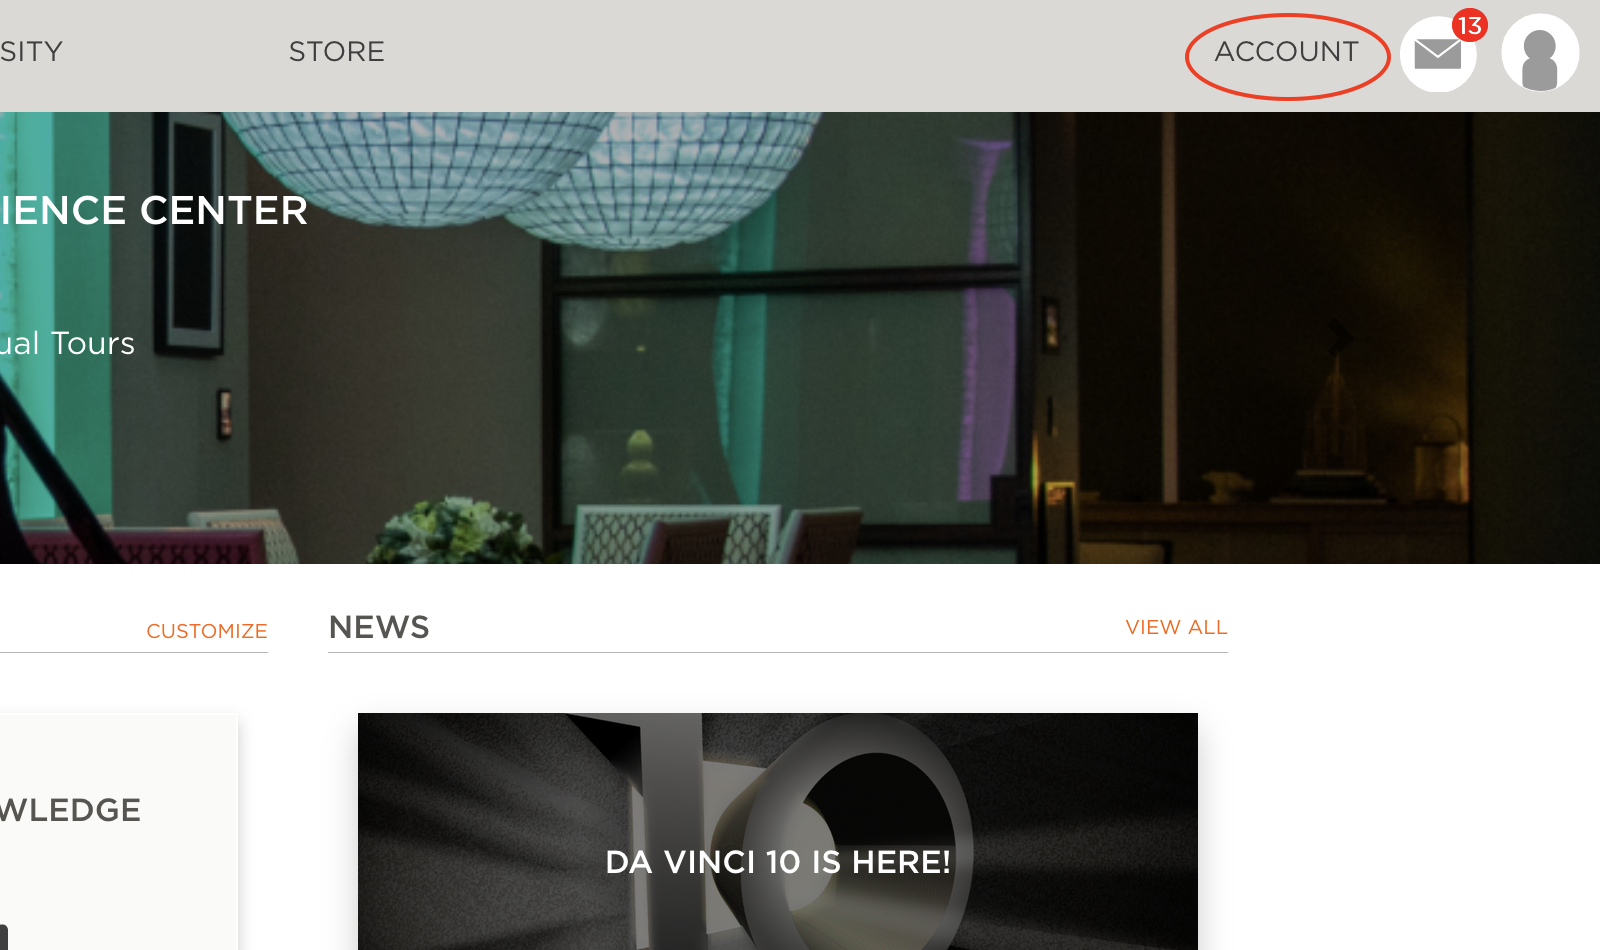
- From the Account screen, select Contacts.
Accessing Contacts through Smart Tiles:
- From the home screen within the Savant Community, select the Contacts Smart Tile.
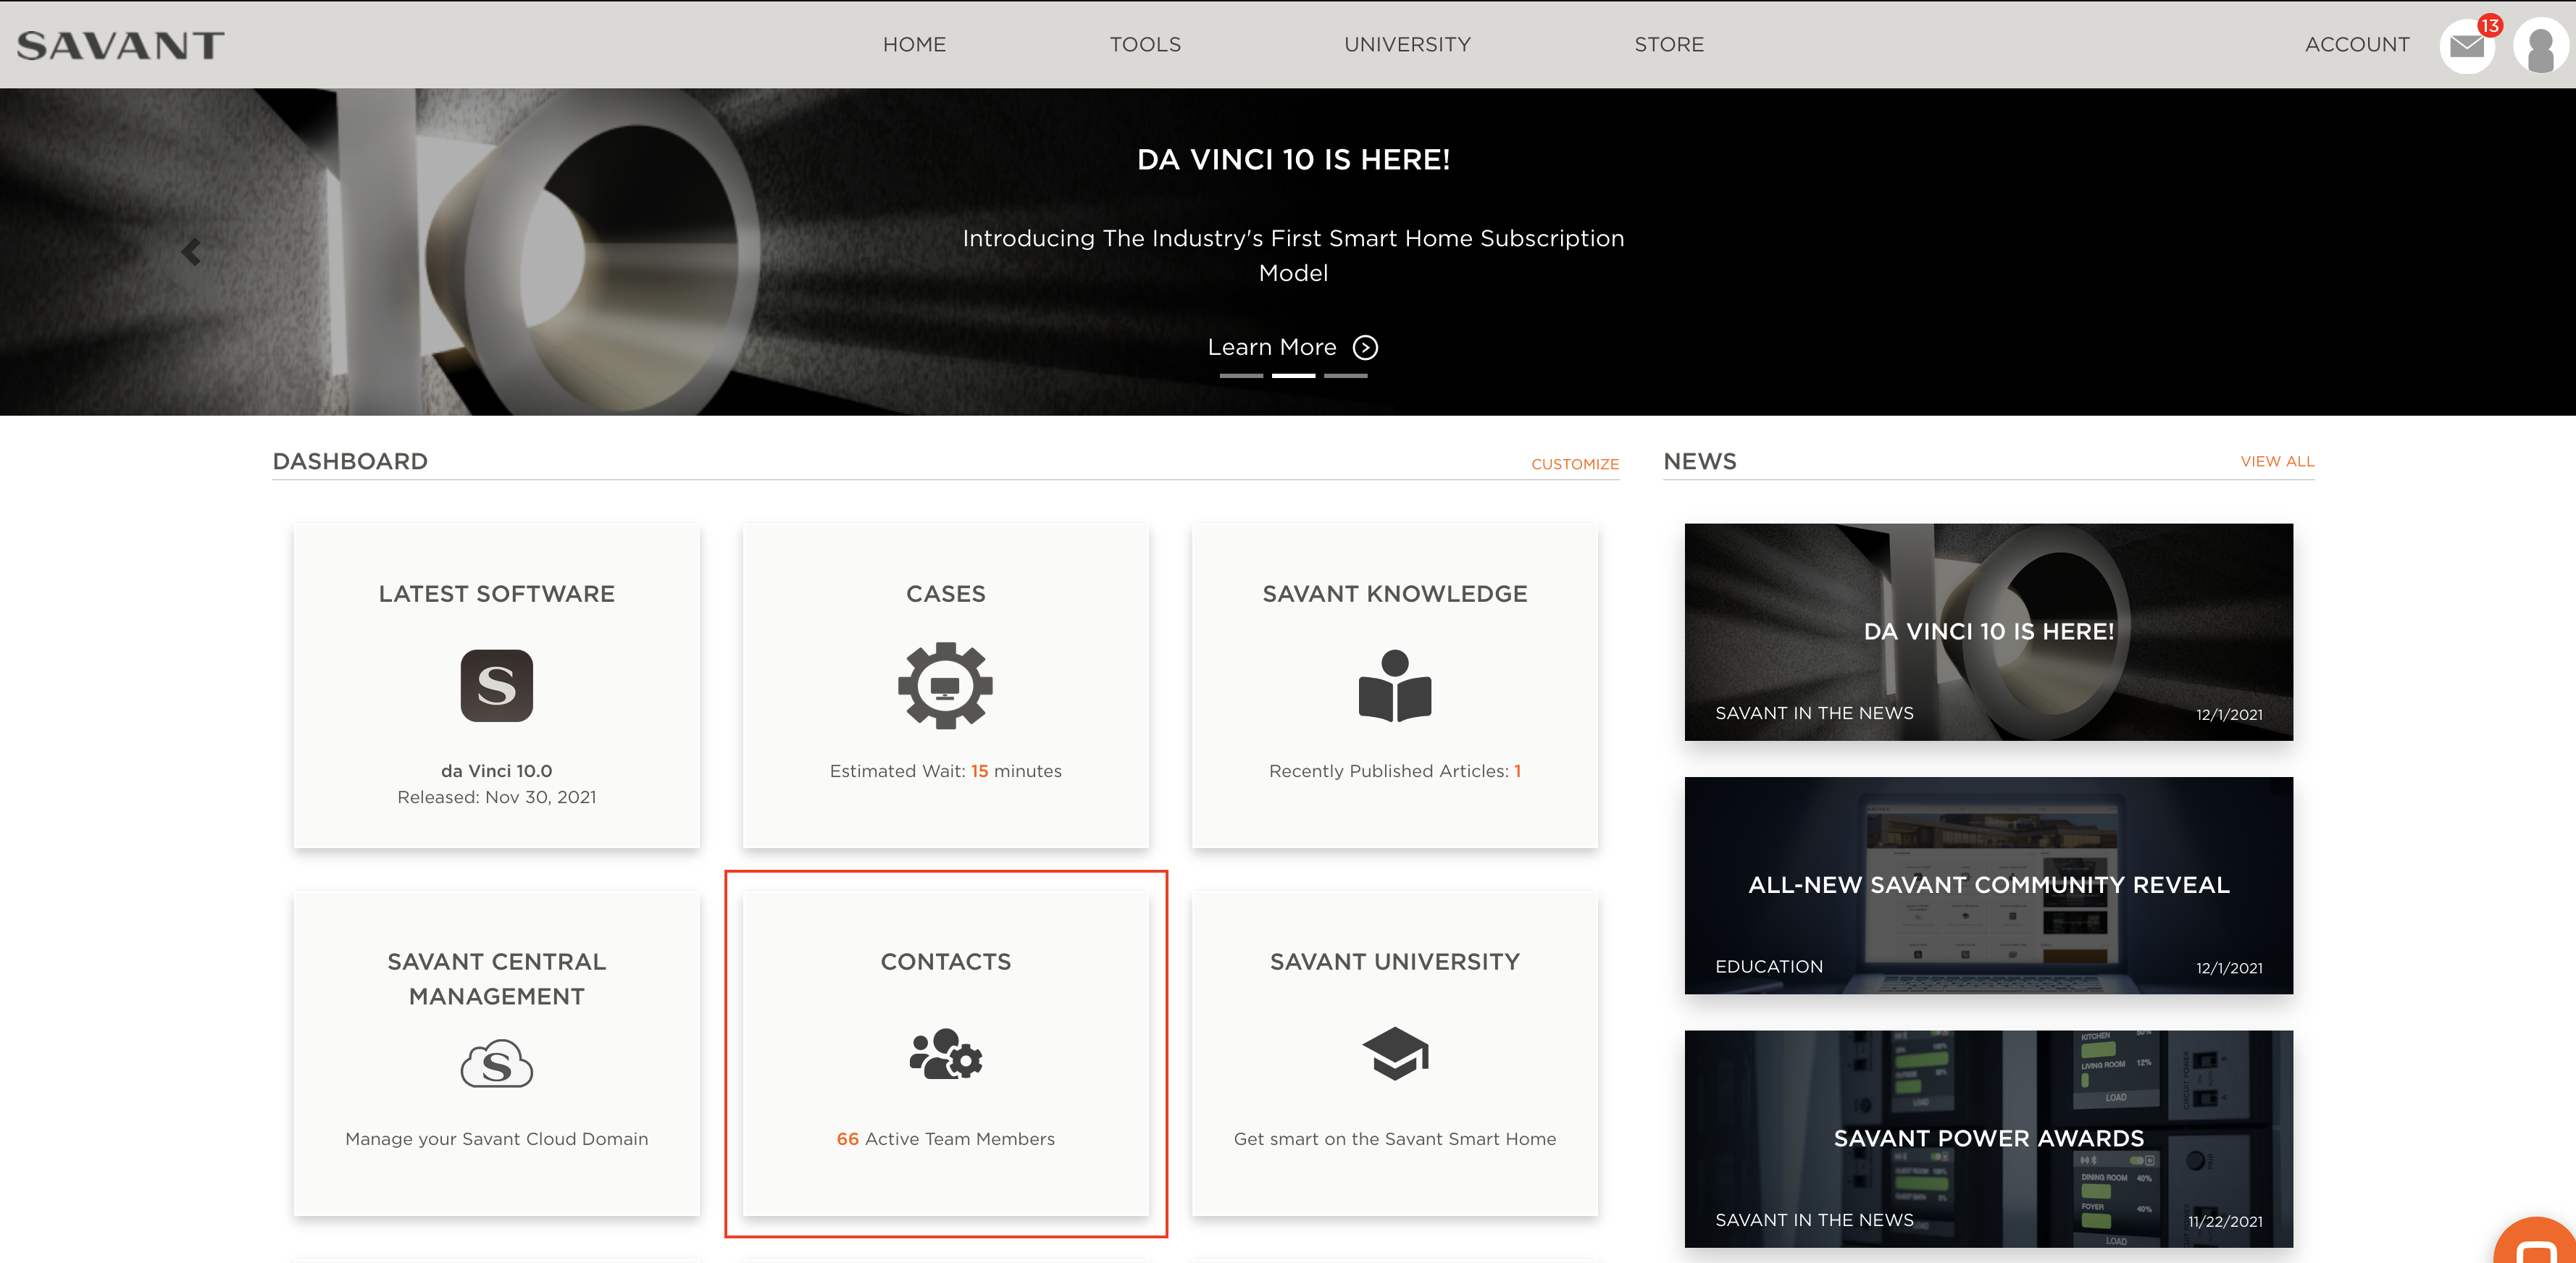
- If the Smart Tile is not appearing on the home screen, select View More to display the rest of the Smart Tiles available on the account.
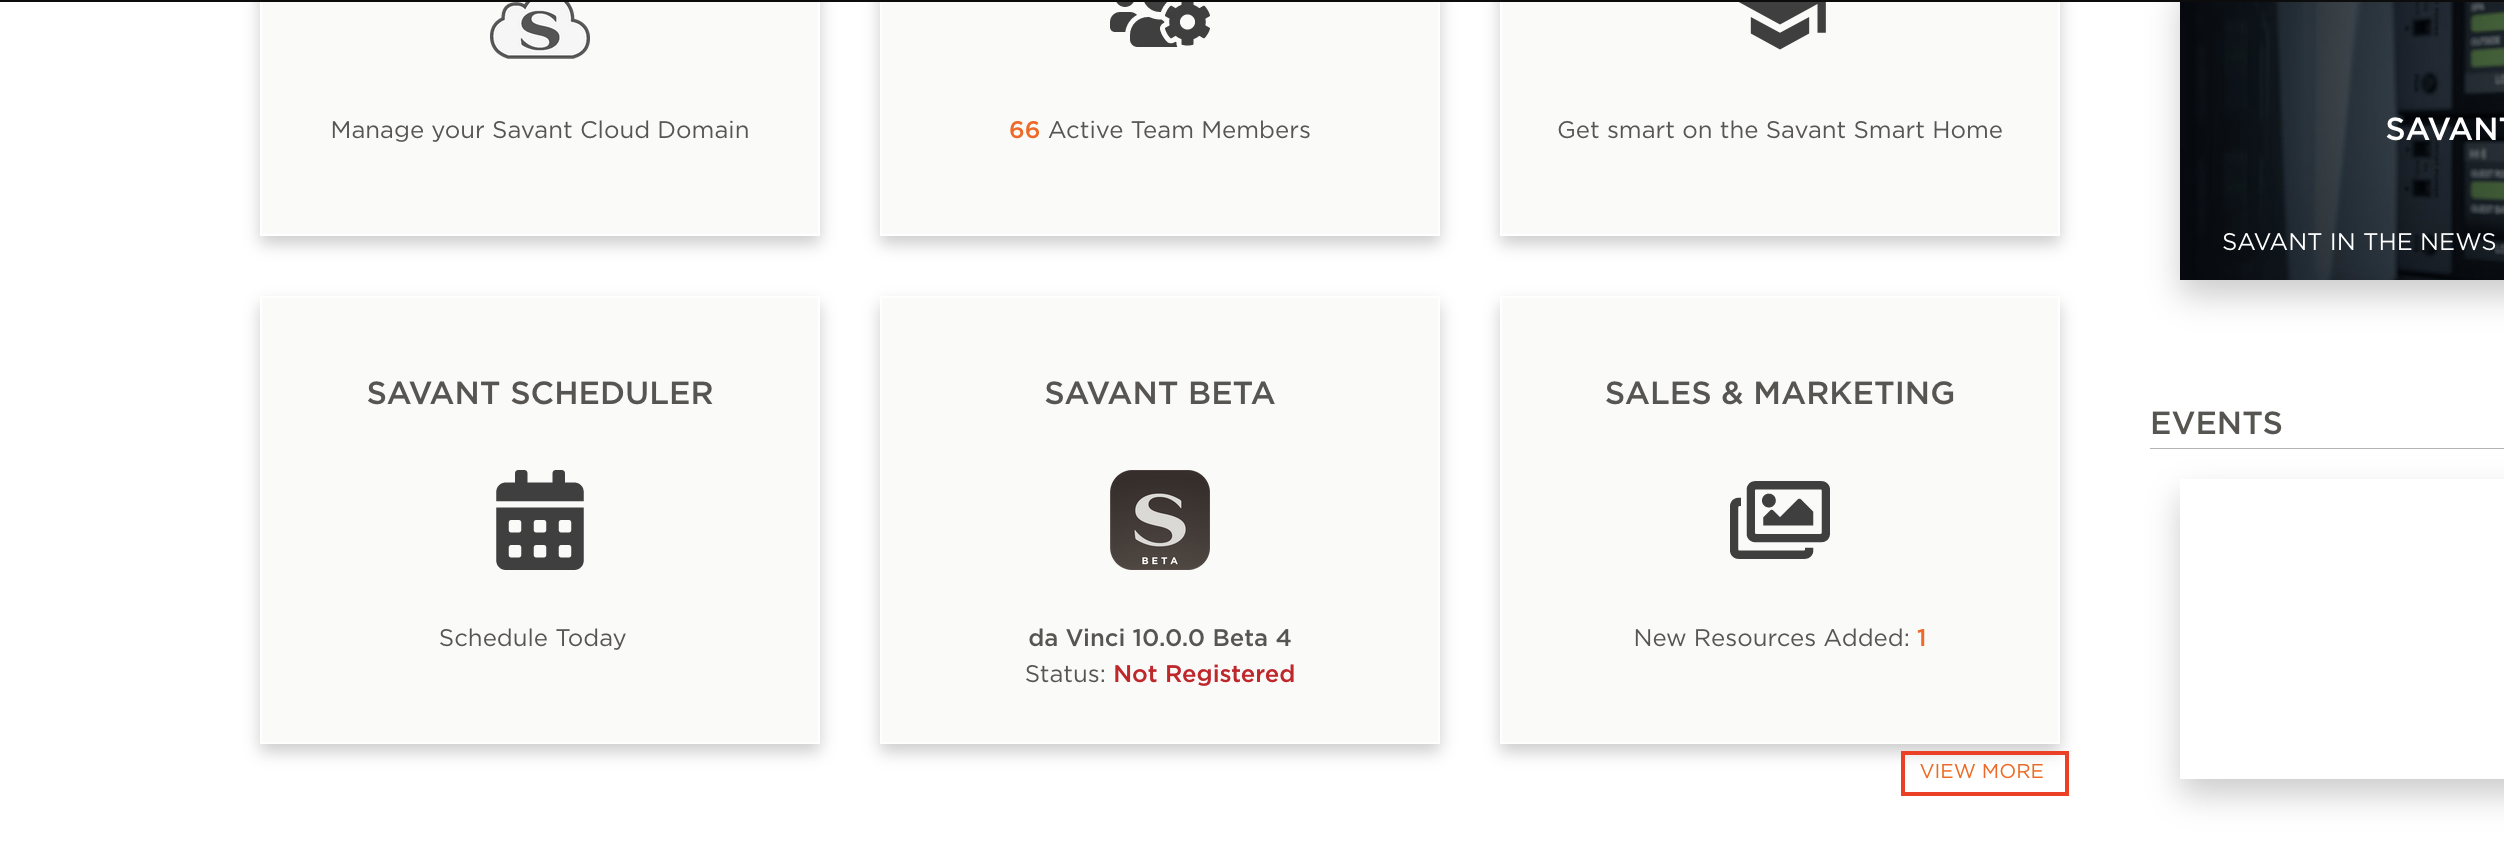
- If the Smart Tile is not appearing on the home screen, select View More to display the rest of the Smart Tiles available on the account.
Add a New Contact
To add a new contact to a company account, log in to the Savant Customer Community and navigate to the Contacts screen (see above), then follow the steps below:
- Select the Create New Contact button from the Contacts screen.
- Fill out the information for the new contact in the window that appears. You can select the new contact's role and Savant Central Management (SCM) access permissions from this window.
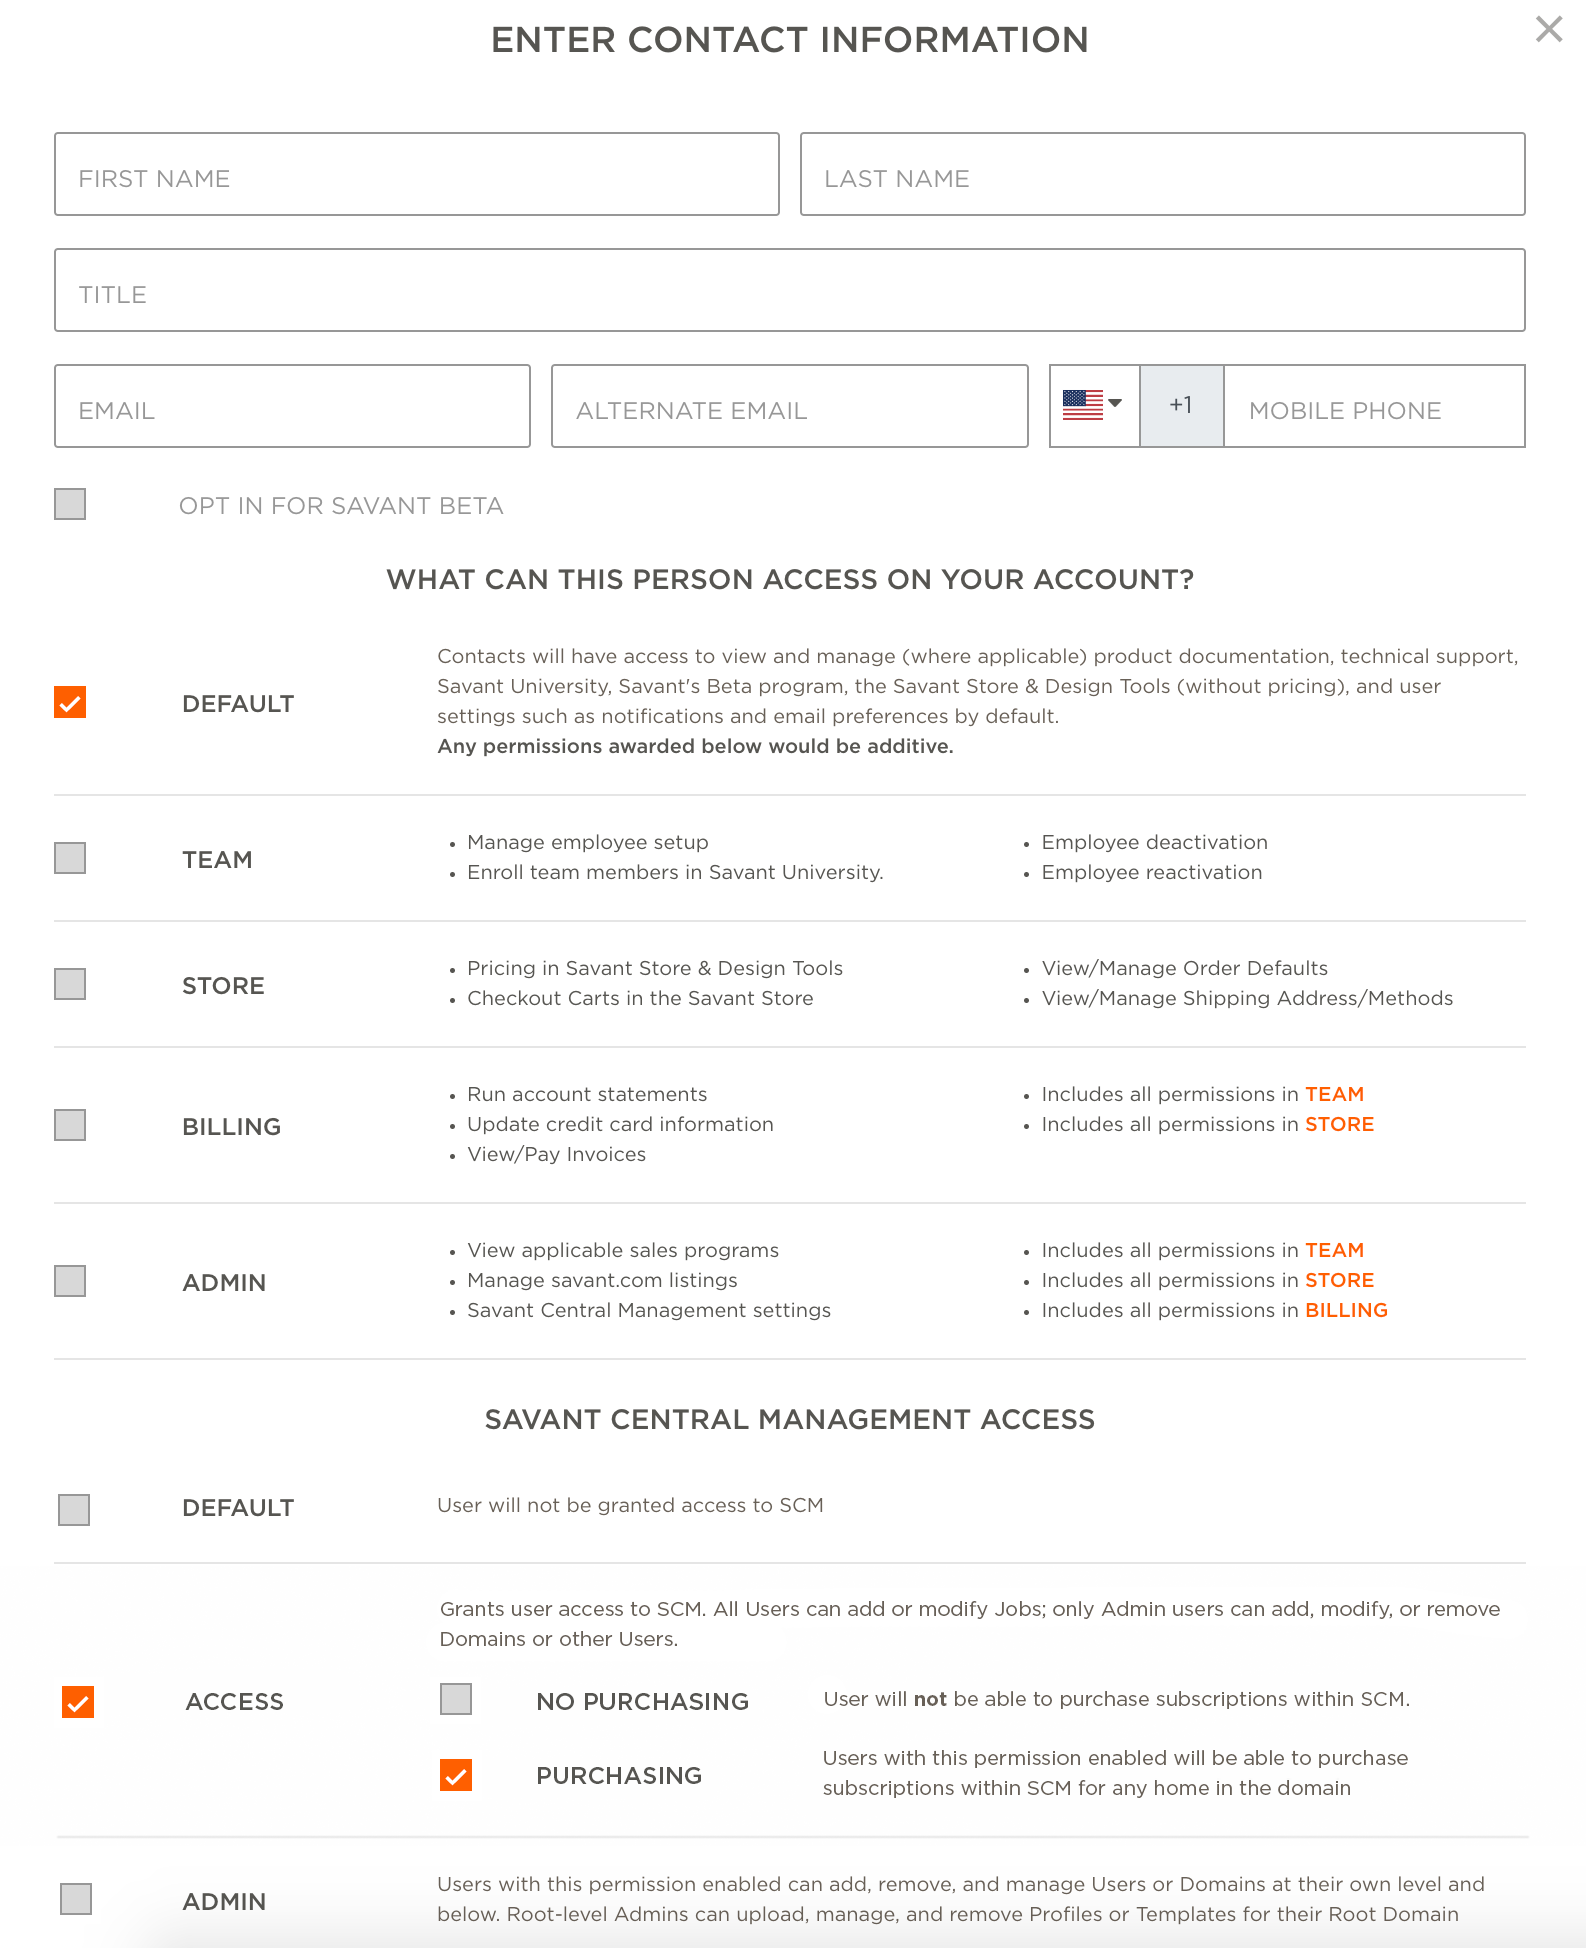
NOTE: Enabling SCM access will allow users to add or modify jobs, and remove groups and other users. Enabling PURCHASING permissions allows users to purchase subscriptions for any home in the group within the Subscriptions tab of SCM.
- Select Save when finished.
Modify or Edit a Contact
- From the Contacts screen, select the contact that requires editing.
- Modify the contact in the pop-up window.
- Select Save to save the changes made.